
© Radioddity 2023 page 1 of 21
V2.2, March 2023
How to update the
firmware of a
DB25-D & GD-88

Radioddity How to update firmware on Radioddity DB25-D & GD-88 v2.1b
© Radioddity 2023 page 2 of 21
Table of Contents
Table of Contents ................................................................................................... 2
1 Firmware Update ........................................................................................ 3
1.1 Firmware update ..................................................................................................... 3
1.2 Install program for firmware update .................................................................... 3
1.3 Perform Firmware update ...................................................................................... 3
1.4 White screen after firmware update ..................................................................... 8
2 Release notes ............................................................................................... 9
2.1 Firmware Release notes for DB25-D ...................................................................... 9
2.2 Firmware Release notes for GD-88 ...................................................................... 11
2.3 CPS Release notes .................................................................................................. 13
3 Common problems and how to solve them ........................................... 15
4 Where to find support material .............................................................. 20
Radioddity How to update firmware on Radioddity DB25-D & GD-88 v2.1b
© Radioddity 2023 page 3 of 21
1 Firmware Update
1.1 Firmware update
In general, an update of PC-software (CPS) or radio-firmware should only be done
if it is really required, following the golden rule ‘If it isn´t broken, don´t fix it!’.
Notes: Prior to performing a firmware update, save the current codeplug to a file.
After doing so, the firmware update may be applied. Finally, the previously
saved codeplug should then again be written to the radio using the
corresponding CPS.
1.2 Install program for firmware update
To install the updater, just unzip the archive you downloaded from
Radioddity support and double click on the file, named
‘IAP(setup).exe’. This will install the firmware update program on
your Windows machine and place a shortcut on your desktop.
Notes: Only COM-port 1…8 are currently supported by the Radioddity IAP.
1.3 Perform Firmware update
In order to perform a firmware update, the radio needs to be put into firmware
upgrade mode first. To do so:
1. Turn off the radio
2. Close the CPS (in case it had been running) in order to make sure the virtual
COM-port of your programming cable is not occupied.
3. Connect your Radioddity DB25-D or GD-88 via the supplied programming
cable to your Windows PC
4. Press the [P1]-key on top of the Radioddity DB25-D and keep it depressed, For
the Radioddity GD-88 it is the upper sidekey [P2] that needs to be kept
depressed.
5. Additionally turn on the radio either by turning the volume key clockwise
(Radioddity GD-88) or by pressing the ‘power key’ left to the [P1]-key
(Radioddity DB25-D).
6. The status-LED will constantly light up red
7. On the Radioddity DB25-D, the display will stay blank and backlight will be on,
regardless of your normal settings. On the Radioddity GD-88 a special screen
will be displayd with either ‘IAP_A’ or ‘IAP_B’ shown in the top line.
8. Release the [P1]-key (Radioddity DB25-D) or the upper sidekey [P2]
(Radioddity GD-88).

Radioddity How to update firmware on Radioddity DB25-D & GD-88 v2.1b
© Radioddity 2023 page 4 of 21
9. Now start the updater
10. Choose the virtual COM-port that does represent your programming cable
11. Click on ‘Open’
12. If the updater can connect to your Radioddity DB25-D or GD-88, it will output
‘IAP Successfully’. If it isn´t able to connect to the radio, it will stay on
‘CommPort:COMx’ (where ‘x’ represents the selected virtual COM-port
number of your programming cable ). If you forgot to shut down the CPS, you
will get a ‘The COMM port is occupied or doesn't exit!’ error.

Radioddity How to update firmware on Radioddity DB25-D & GD-88 v2.1b
© Radioddity 2023 page 5 of 21
13. Next click on the button ‘Open APP file’.
14. Now navigate to the path that does contain the update file that is intended to
be transferred to the Radioddity DB25-D or Radioddity GD-88, such as:
‘C7000_DR300UV_Ham_DB25D_20210902.bin’.
Notes: Do not use update files intended for other radios, even if those radios
may be looking like the Radioddity DB25-D or Radioddity GD-88. Using files not
intended to be put on a Radioddity DB25-D or a Radioddity GD-88 may result
in a loss of any guarantee.
15. Whereas a firmware update for the Radioddity DB25-D consists of just one
file, the Radioddity GD-88 does require two separate files. One for each
independent VFO (A and B). To select the target location of the file, long press
the upper side key [P2] of the Radioddity GD-88 to switch between ‘IAP_A’ and
‘IAP_B’. The firmware files are normally marked with ‘HAM_A’ and ‘HAM_B’.
Make sure that you always write the A-file to IAP-A and the B-file to IAP-B.
During firmware update of the Radioddity GD-88 A-part, the status-LED will
just constantly light red and the page-counter and the address-field on the
radio display will be updated. During firmware update of the Radioddity GD-
88 B-part, the status-LED will flash red/green but neither page-counter nor the
Address-field of the radio display will be updated.

Radioddity How to update firmware on Radioddity DB25-D & GD-88 v2.1b
© Radioddity 2023 page 6 of 21
16. To start the actual update process, click on the ‘IAP’ button.
Wilst updating the A-part on a GD-88 you will see an ascending counter on
the radio. Whilst updating the B-part on a GD-88 there will not be such counter
on the radio due to technical reasons. However, the IAP-program will report
on the success of the B-update.
17. Do not press any key on the radio, do not remove power, just wait until the
radio has finished the update process and turns off! During the update
process, the status-LED will flash green and red and the application shows the
progress by the increasing number of ‘Current Page’. The progress is also
indicated on the Radioddity GD-88 during update of ‘IAP_A’. The progress will
not be indicated on the Radioddity GD-88 during update of ‘IAP_B’ but only on
the IAP update program.

Radioddity How to update firmware on Radioddity DB25-D & GD-88 v2.1b
© Radioddity 2023 page 7 of 21
18. As soon as the update has finished on the Radioddity DB25-D, the radio will
automatically shut down, whereas the Radioddity GD-88 will state the
following on its screen ‘Status: Rec Done!’. If you have just updated one of the
two GD-88 VFOs it is now time to select the second VFO (long press of the
upper side key) and update it with its corresponding firmware file as well.
After you have updated both VFOs of the Radioddity GD-88 turn off the radio.
19. You may now normally power on the radio again.
20. To check which firmware version currently is installed, click: MENU → Device
Info → Version
21. The output will look similar to:
DB25-D and older GD-88
GD-88
Notes: Depending on the Radioddity model and its production run, there may be
slight differences in the display of the firmware version even if the very
same firmware had been used. However, the stated date and time are
unique to each file. Never mix files that are not intended for your radio. As
for the Radioddity GD-88 only use file-pairs that have been distributed by
Radioddity within the very same archive.

Radioddity How to update firmware on Radioddity DB25-D & GD-88 v2.1b
© Radioddity 2023 page 8 of 21
1.4 White screen after firmware update
It might happen, that your radio - after applying the firmware update - does show
a white screen when turned on instead of the normal startup logo. Don´t worry,
this is due to the fact that we do have slightly different hardware revisions out in
the field that are covered by the very same firmware. In order to get rid of the
white screen after updating, please proceed as follows:
1. turn off the radio
2. press the green button and keep it depressed
3. turn on the radio and wait about 2 seconds for the startup logo to be
displayed
If this fails, just repeat the 3 steps. Normally after the third trial it will do the job.
This is a one time procedure. As soon as the startup logo is displayed as expected,
you are done and it will not be required when again turning on the radio.
Notes: This procedure is only required for radios showing a white screen after the
firmware update. Do not try out the procedure if your radio is not
affected.
Radioddity How to update firmware on Radioddity DB25-D & GD-88 v2.1b
© Radioddity 2023 page 9 of 21
2 Release notes
The following tables list the details that had been changed with new versions of
the firmwares. In general, previous updates are included in the latest one.
Attention: Never update your radio unless it is really required or with other words
‘Don´t fix it, if it isn´t broken’! This cannot be stressed often enough.Only
take those firmware as found on our support pages. Before performing an
update, double check that the firmware on our support page has not been
withdrawn.
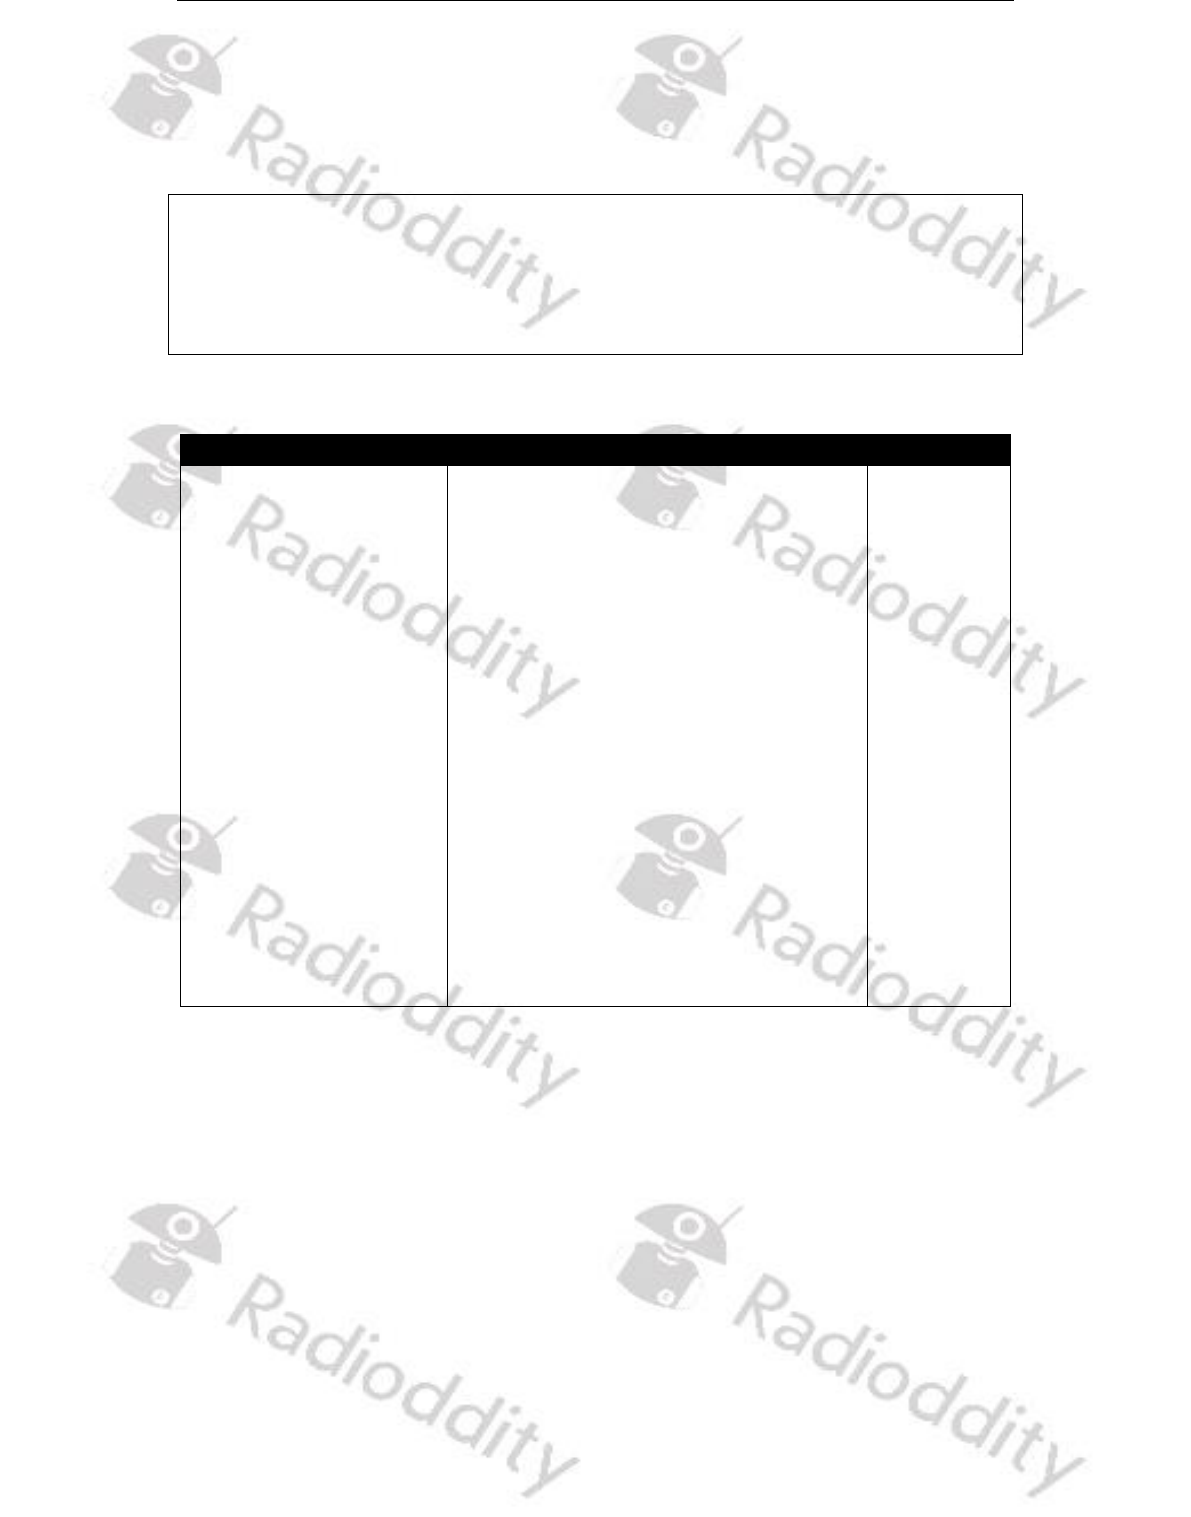
2.1 Firmware Release notes for DB25-D
revision
Changes
released
909E.D4.EARSAB.018
• DMR ID data now properly displayed
(no more display of wrong DMR
database data)
• Assignment of 1450 Hz Pilot tone
now fixed (also requires at least CPS
3.3
DMR CPS_DRS [9.2.16])
• minor fixes within the Talker Alias
display
• ‘Dual Watch’ added as option to be
assigned for a programmable
function key. This results to the very
same functionality as the switch for
Single or Dual VFO display mode
found within the radio menu at ‘Local
Set → DisplayMode → S/D mode’
• support for programming cable
based on FTDI-chip
2022-11-23

Radioddity How to update firmware on Radioddity DB25-D & GD-88 v2.1b
© Radioddity 2023 page 10 of 21
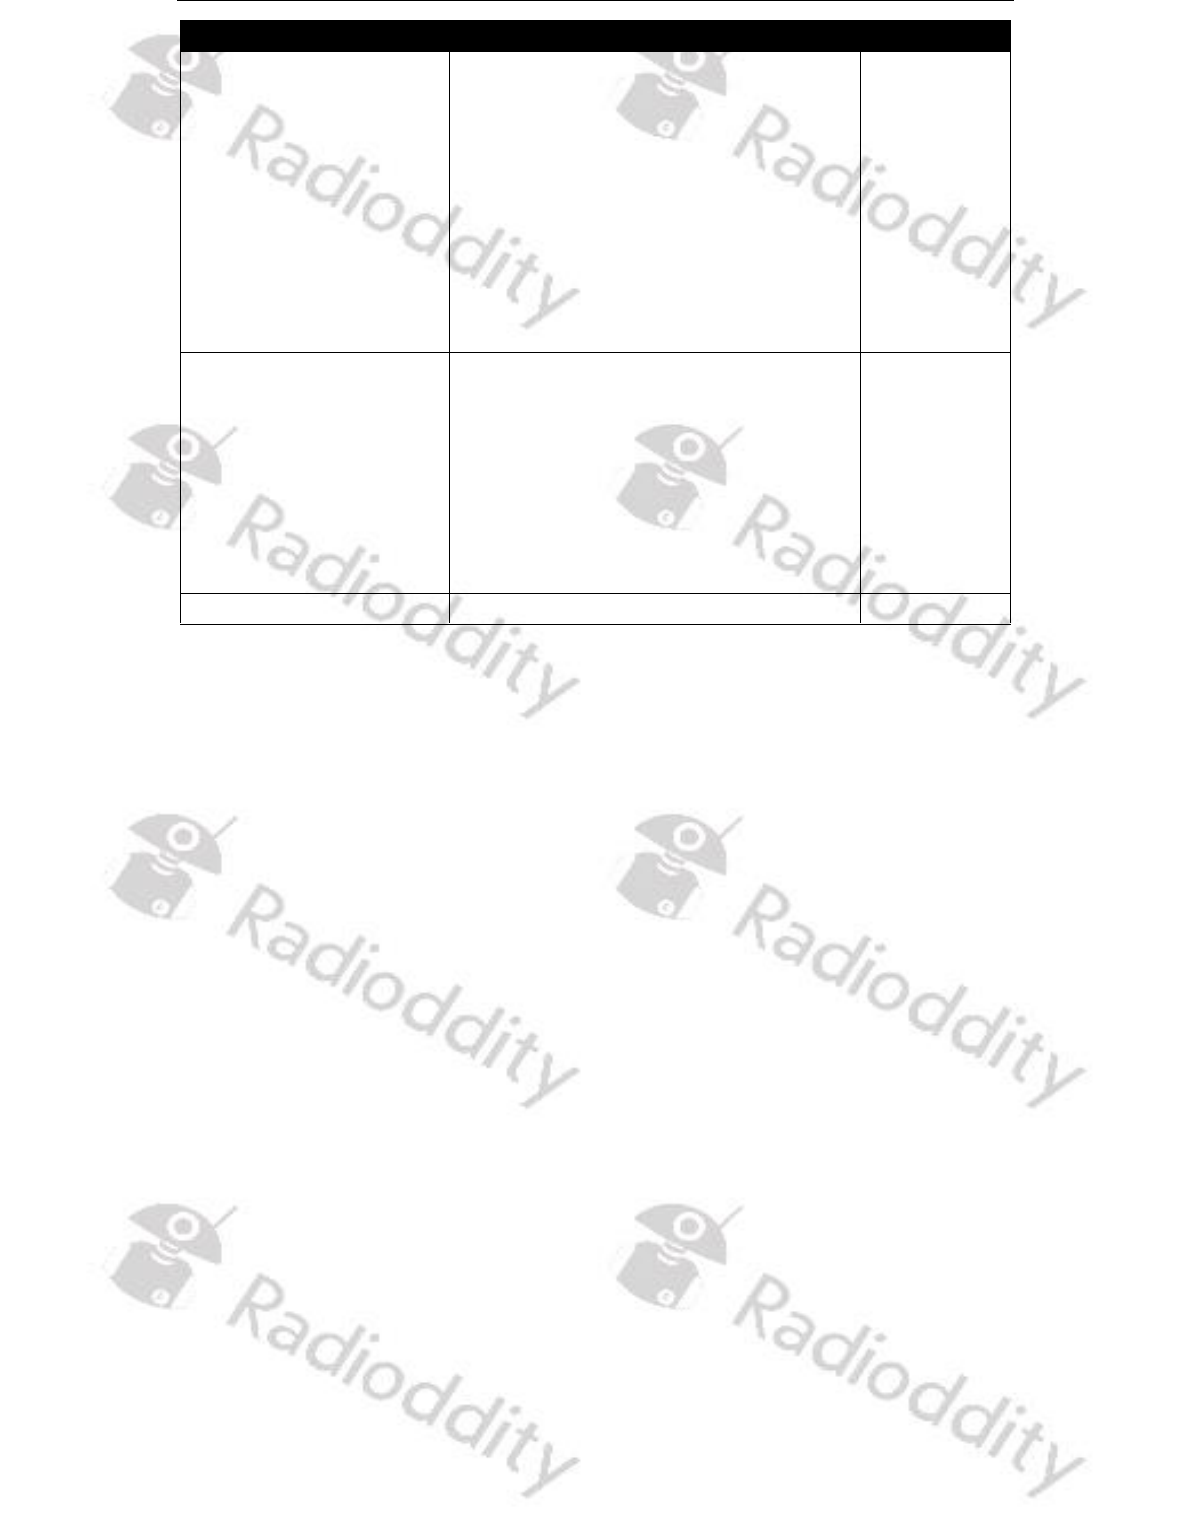
revision
Changes
released
909E.D4.EARSAB.017
• Talker Alias (TA) now supported.
• Besides 1750 Hz, the radio now also
supports pilot tones / burst tones of
700 Hz, 1000 Hz, 1400 Hz, 1450 Hz
and 2100 Hz (requires newest CPS
release for support of those)
• ‘TimeOfCall’ label now displayed in
English instead of Chinese
• After changing a contact of call type
‘Private Call’ to ‘Group Call’, it is now
possible again to change it back to
‘Private Call
• ’If a menu had been selected and a
call comes in, the menu remains
selected and navigation within the
menu is still possible
2022-10-25
909E.D4.EARSAB.014
• Additional icon whenever
promiscuous mode is active
• Memory assignment for channels
and zones now handled dynamically
• APRS now also transmits whenever
under simulation.
• Added a volume control method:
➢ Do not push down the knob, turn
the knob to change the channel
➢ Push down the knob, turn the knob
to change the volume
2021-12-11
909E.D4.EARSAB.008
• Improved single VFO display (full
screen now utilized)
• Factory reset reverts to the factory
settings saved from the CPS
• Record number / max record
number no longer displayed during
transfers
2021-09-02
909E.D4.EARSAB.007
This has been the initial release
2021-05-12

Radioddity How to update firmware on Radioddity DB25-D & GD-88 v2.1b
© Radioddity 2023 page 11 of 21
2.2 Firmware Release notes for GD-88
revision
Changes
released
B49E.D66.EOPSAB.013
2023-03-27 14.46.07 (A)
B49C.D66.EHRNAB.008
2023-03-22 10.18.56 (B)
*) ‘6’ or ‘T’ depending on the
production batch
In case you get a white
screen after updating your
GD-88 with this firmware,
please:
1. turn off the radio
2. press the green button
and keep it depressed
3. turn on the radio and
wait about 2 seconds for
the startup logo to be
displayed
If this fails, just repeat the 3
steps. This is a one time
procedure. As soon as the
startup logo is displayed as
expected, you are done and it
will not be required when
again turning on the radio.
Do not downgrade radios to
a firmware prior to the one
as of March 30
th
, 2023 as
that might brick your radio.
• ‘VFO-B Unprogrammed’-bug fixed
• TX of Analog DTMF now fully
supported
• TalkerAlias-data now displayed
correctly
• Radio menu may be operated even
during an active QSO
• Improved reaction timing when
changing the volume
• Single VFO-mode is now possible
and utilizes the complete screen (to
turn it on/off: MENU → Local Set →
DisplayMode → Single Mode).
Active Single Mode will disable
switching between VFO-A and VFO-
B.
• DMR-audio level aligned to analog-
audio level
• If no RX-Group is assigned to a
channel, traffic for the assigned
talkgroup will now still be received
• ‘RXGroupList’ menu within ‘Device
Info’ now displayed correctly
• No powercycle required after
writing the codeplug to the radio in
order to make the GPS menu
available again
• Current entry of menu or submenu
and the total number of entries are
displayed in the upper right corner
above each other
• Icons updated
• Current RX group and Zone are
displayed during RX as long as DMR
ID database has not been uploaded
to the radio or active station is not
listed within the uploaded DMR ID
database.
2023-03-30
Radioddity How to update firmware on Radioddity DB25-D & GD-88 v2.1b
© Radioddity 2023 page 12 of 21
revision
Changes
released
B49E.D66.EHPSAB.010
2022-11-19 (A)
B49C.D66.EHRNAB.005
2022-11-11 (B)
withdrawn due to
incompatibility with the
newer production batches
• DMR ID data now properly displayed
(no more display of wrong DMR
database data)
• Assignment of 1450 Hz Pilot tone
fixed (does require at least CPS 3.3
DMR CPS_DRS [9.2.16])
• minor fixes within the Talker Alias
display
• support for programming cable
based on FTDI-chip
2022-11-21
B49E.D64.EHRSAB.007
2022-10-27 (A)
B49C.D64.EHRNAB.005
2022-10-28 (B)
• Talker Alias (TA) now supported
• Besides 1750 Hz, the radio now also
supports pilot tones / burst tones of
700 Hz, 1000 Hz, 1400 Hz, 1450 Hz
and 2100 Hz (requires newest CPS
release for support of those)
• Improved behaviour of ‘Zone
Switch’ P-key
2022-10-28
B49E.D64.EHRSAB.005.
This has been the initial release
2022-06-30

Radioddity How to update firmware on Radioddity DB25-D & GD-88 v2.1b
© Radioddity 2023 page 13 of 21
2.3 CPS Release notes
The following table lists the details that had been changed with new versions of
the CPS.
revision
Changes
released
CPS 3.3
DMR CPS_DRS [9.2.16]
• 1450 Hz Pilot tone P-key assignment
fixed
• ‘Dual Watch’ added as option for P-
key assignments. This corresponds
to the very same functionality as the
switch for Dual/Single VFO display
mode as found under ‘Local Set →
DisplayMode → S/D mode’ within
the Radioddity DB25-D radio menu
• support for programming cable
based on FTDI-chip
2022-11-04
CPS 3.3
DMR CPS_DRS [9.2.15]
• Besides 1750 Hz, the CPS now also
supports pilot tones / burst tones of
700 Hz, 1000 Hz, 1400 Hz, 1450 Hz
and 2100 Hz
• No more crash (‘Error 6’) if screen
resolution exceeds 1080x1920
2022-10-20
CPS 3.3
DMR CPS_DRS [9.2.11]
• Functionality for full support of
Radioddity GD-88 added
• If radio APRS beacon is set for ‘Fixed
Location’, specified latitude and
longitude values are now
transmitted correctly via APRS
• No more ‘Run time error 6 ‘
• CPS no longer crashes if closed via
click on the 'X' in the upper right
corner of the application
2022-07-01
CPS 3.3
DMR CPS_DRS [9.2.9]
• New function 'FactoryReset' for
saving personal factory defaults to
the radio
• Additional 'Group call hang time' of
30s and 60s
• Startup logo exchanged
2021-09-06

Radioddity How to update firmware on Radioddity DB25-D & GD-88 v2.1b
© Radioddity 2023 page 14 of 21
revision
Changes
released
CPS 3.2
DMR CPS_DRS [9.2.1]
• No more unwanted changes of
parameters
• Additional shortcut ‘Ctrl+S’ for
saving the codeplug to the PC
• Display of readable text instead of
codeplug block numbers within the
communications window
• Update of built-in help texts
• Headlines in channel definitions
shortened and no longer truncated
• Renaming of ‘GCL’ to ‘RX Group’
within channel settings
• Correction of popups
• Proper display of APRS(A) within
channel settings
• Using ‘Del’ within the ‘Contact list’
now deletes, starting at the current
cursor position
2021-08-17
CPS 3.1
DMR CPS_DRS [9.1.178]
This has been the initial release
2021-06-01

Radioddity How to update firmware on Radioddity DB25-D & GD-88 v2.1b
© Radioddity 2023 page 15 of 21
3 Common problems and how to solve them
Problem
Solution
Radio fails to power on
DB25-D: Check power supply, check inline fuse
of power cable
GD-88 check that the battery is fully charged
Channel selector knob does
no longer allow to switch
between the channels
Turn on Channel Switch:
MENU (press knob) → Local Set → Channel Sw
→ SELECT (press knob to change setting)
When the indicator turns GREEN, you have
again assigned the Channel select function to
the knob.
Do not want to be
interrupted by activity on
second channel (which is
not selected)
Turn off Dual-Channel mode: MENU (press
knob) -> Local Set -> DisplayMode -> S/D Mode
Sw -> MENU (press knob to change setting)
When the indicator turns GREEN, you have set
it for Single Channel Mode Display.
When the indicator turns RED, you have set it
for Dual Channel Mode Display.
Contact details not shown
during conversation
Make sure that the Ham contacts have been
imported from a CSV file, sorted by ascending
DMR IDs. If you want all details, make sure you
did the 128 bytes/record import and turn off
Dual-Channel mode: MENU (press knob) ->
Local Set -> DisplayMode -> S/D Mode Sw ->
MENU (press knob to change setting)
When the indicator turns GREEN, you have set
it for Single Channel Mode Display.
When the indicator turns RED, you have set it
for Dual Channel Mode Display.
Activities on even not
selected VFO does activate
squelch
Turn off any SCAN-mode as the scanning
feature requires the unselected VFO.
Message ‘The COMM port is
occupied or doesn't exit!’ or
‘DATA MISTAKE’ when trying
to connect the radio with
the CPS or the IAP
Currently the CPS as well as the IAP only
support virtual COM-ports ‘COM1’ up to ‘COM8’.
You may change the assigned virtual COM-port
using the device manager of your Windows-OS.

Radioddity How to update firmware on Radioddity DB25-D & GD-88 v2.1b
© Radioddity 2023 page 16 of 21
Problem
Solution
Sometimes a ‘Run time
error 6’ is been thrown
Make sure you did install the CPS as
administrator in order to avoid such.
Get our newest CPS. Besides that the screen
resolutions should not exceeld 1920x1080.
Analog APRS does not work
Analog APRS currently only works if an analog
channel has been selected, the proper analog
APRS settings have been applied and an analog
iGate is within RF-coverage.
Make sure ‘Analog APRS’ or ‘DMR+Analog APRS’
is selected at the radio within the menu
‘Appendix → APRS → APRS Type’
Digital APRS does not work
Digital APRS only works if a digital channel has
been selected and the proper TalkGroup has
been assigned for the defined reporting
channel.
Make sure ‘DMR APRS’ or ‘DMR+Analog APRS’ is
selected at the radio within the menu
‘Appendix → APRS → APRS Type’
Cannot use the radio with
my local simplex hotspot
If it is pistar-based and single-hat, you need to
set both, ‘TX TS’ and ‘RX TS’ to ‘On’ within the
corresponding channel definitions of our CPS.
Radio reboots whenever I
press [PTT]
• Use an external antenna (suitable for the 2m
and 70cm band) connected via an antenna
cable to the radio.
• Use clip-on ferrites and place one of those on
the power cord, close to the radio body.
• Route the power cord and antenna cable
separate as far away from each other.
• Directly wire the radio to the car battery
without using the cigarette lighter socket.
Often the connection between a cigarette-
lighter plug and its socket causes such issue
whenever a higher current is drawn.
• Make sure the battery is fully charged and
provides sufficient voltage and power
If analog VFO-mode is
selected, transmitting is not
possible
Check the setting of RXOnly using the Channel-
Edit function as described in our extemnded
manual.
I do not understand those
CPS parameters such as RX
Time, TX Time, GCL
You are using an old version of our CPS. Please
update the radio firmware and install the
newest CPS. Both to be found in our support
area for the Radioddity DB25-D.
Cannot communicate with
the radio
Make sure the radio is turned on and the
supplied programming cable is plugged in on
both, the radio and the PC. Make sure the
driver is installed.

Radioddity How to update firmware on Radioddity DB25-D & GD-88 v2.1b
© Radioddity 2023 page 17 of 21
Problem
Solution
Cannot hear the local DMR-
repeater
For each TalkGroup that you do want to
operate, you will need a separate channel. Each
digital channel should have a reference to a
specific Contact (TalkGroup) and to a so-called
RX-group that also does have the channels
TalkGroup as a member. Ham operators often
do place all TalkGroups that are assigned to
Time Slot 1 within one TalkGroup and all
TalkGroups that are assigned to Time Slot 2
within another RX-group. If there is no RX-
group assigned to a channel, you will only be
able to receive direct calls to your own DMR ID
and calls to the talk group assigned to the
current channel.
Whenever I try to TX on a
digital channel I get a ‘BS
failed’ message on the radio
screen
'BS Failed' stands for 'Base Station failed' and
can have various reasons:
• Wrong TX frequency
• Wrong RX frequency
• Wrong Color Code
• No Contact (and its Call Type) defined within
call
• Addressed timeslot currently occupied by
another caller
• The radio had incorrectly programmed an
analog repeater in digital mode
I can not enter the radio
menu by using the channel
knob
Make sure that you have not activated the
keypad lock. To unlock, long press the [ENC]
button.
When operating in analog
mode and releasing the
[PTT] there is a delay of
about 30 seconds before I
can hear someone else.
Check if your currently selected channel is also
a member of a Scan List and you have activated
automatic scanning. The described behavior
does happen, whenever you have scanning
activated and there is no more signal detected
on the currently selected channel and thus
starting the scanning process again. Depending
on the number of channels that are member of
the scan-list it may take some seconds until the
channel in question will be checked again.
Scanning an analog channel takes significantly
longer, than scanning a digital channel.
In analog mode I am
missing a lot of DCS tones
The radio does support all 83 codes as
standardized by the Telecommunications
Industry Association plus additional 20 DCS
codes. If it is not within those codes as listed in
our extended manual, it is not supported.

Radioddity How to update firmware on Radioddity DB25-D & GD-88 v2.1b
© Radioddity 2023 page 18 of 21
Problem
Solution
When editing the
parameters of the VFO
marked with PTT the
parameters of the other
VFO get changed
When editing parameters using the radio
menus, the changes do apply to those VFO
that´s marked with ‘CTRL’. Make sure to select
the proper VFO for ‘CTRL’ using the ‘A/B’ key.
I am not able to TX to my
Hotspot using DMR-mode
Make sure the setting for ‘time slot’ of the
corresponding channel is set either to the
required timeslot (for duplex hotspots) or to
‘ON’ for simplex hotspots.
The Radioddity DB25-D is
OFF whenever I
power on my car
The Radioddity DB25-D does keep its last
power state upon loss of power. If the radio
had been turned on before power loss, it will
automatically turn on again as soon as the
power is back. If it had been turned off before
power loss, it will stay off, even if power is back.
Every time I need to set the
audio volume of my
Radioddity DB25-D
The actual audio volume highly depends on the
audio volume of the transmitting station.
However, if you do change the volume settings
on your Radioddity DB25-D by hitting the
[VOL]-key, turning the [ENC]-knob, then do not
forget to press the [ENC]-knob to permanently
store the setting into the radio.
The [ENC]-knob for channel
selection does not work
Channel selection has been disabled by the
user. To reenable the channel selection do the
following: MENU → Local Set → Channel Sw →
Select (the switch-icon should turn GREEN to
allow using the ENC-knob for selecting a
channel)
Function assigned to a [P]-
key does not work
Functions only available when an analog
channel is selected do not work on digital
channels. Functions only available for digital
channels do not work on analog channels. If a
pilot tone / burst tone has been assigned to
short press of a [P]-key, the long press function
for that very same [P]-key is no longer
available.
My GD-88 comes with a
installed codeplug, is it
a used radio?
No, you did not at all get a used radio. We do
ship all our GD-88 radios with a preconfigured
sample codeplug that has, for your
convenience, also been written to the radio as
'factory reset' codeplug. This sample codeplug
contains various sample settings that should
give you an idea on the various operating
modes. We are planning to release a special
document for customers new to the GD-88 that
will explain in more detail the original factory
reset codeplug.

Radioddity How to update firmware on Radioddity DB25-D & GD-88 v2.1b
© Radioddity 2023 page 19 of 21
Problem
Solution
When updating IAP-B on my
GD-88 the counter does not
show any progress.
The GD-88 does have two CPUs: One for VFO-A
and the other one for VFO-B. When updating
the firmware of the GD-88, you will need to
update the firmware for both CPUs, A and B.
Each of them needs to get its own update
binary file. Make sure that you always write the
A-file to IAP-A and the B-file to IAP-B. Wilst
updating the A-part you will see an ascending
counter on the radio. Whilst updating the B-file
there will not be such counter on the radio due
to technical reasons. However, the IAP-program
will report on the success of the B-update.
After performing a firmware
update on my GD-88 DMR-
channels envoced on VFO-B
no longer have a contact
assigned to them
In general, we advise to read the current
codeplug from the radio and store it on your
PC before you do any firmware update of the
radio. After the firmware update has
completed, write back the previously stored
codeplug to the radio. This does ensure that
your previous settings will be working as
expected.
I want to reset the radio but
can not find any hint on
how to do so.
The radio does not have any possibility to
perform a real reset. However, it does have a
built in functionality, called ‘factory reset’.
Whenever you trigger that factory reset (on the
radio) the current codeplug will be replaced by
a codeplug that has previously been saved as
the 'factory reset' codeplug (see Fehler!
Verweisquelle konnte nicht gefunden
werden. on page Fehler! Textmarke nicht
definiert. and on page Fehler! Textmarke
nicht definiert. for more details on that).
After performing a
firmware update, VFO-
B keeps displaying
“Unprogrammed”
Prior to performing a firmware update, save
the current codeplug to a file. After doing so,
the firmware update may be applied. Finally,
the previously saved codeplug should then
again be written to the radio using the CPS.
After performing a firmware
update only a white screen is
shown on startup.
This is due to the fact that we do have slightly
different hardware revisions out in the field that
are covered by the very same firmware. Chapter
0,
White screen after firmware update on page 8
does describe the procedure to get rid of the
white screen.
After downgrading the
radio only a black screen
is shown on startup
Never downgrade the radio to a firmware
version prior to the one that had been released
March 30
th
, 2023.

Radioddity How to update firmware on Radioddity DB25-D & GD-88 v2.1b
© Radioddity 2023 page 20 of 21
4 Where to find support material
Please kindly note that all the firmware, software, and user manuals can be found
in the Support area of our official website by following these steps:
https://www.radioddity.com/ → Support → Radioddity → click on ‘DB25-D’ or ‘GD-
88’
As for the Radioddity DB25-D the resulting support page will look similar to the
following:
As soon as any new file becomes available (such as firmware updates, updated
manuals or others), it will be published within our support area.
Notes: The ‘Manual’ section is underneath the ‘Software’ section. Use the red scroll
bar to the right to navigate there.

Radioddity How to update firmware on Radioddity DB25-D & GD-88 v2.1b
© Radioddity 2023 page 21 of 21
We would like to thank all Radioddity DB25-D and Radioddity GD-88 customers for
their constructive feedback.
If you do find any bug in the radio’s firmware, our CPS, this documentation or if
you are missing a feature, you would have expected, write an email to
support@radioddity.com. In general, the software- and firmware-updates for your
Radioddity DB25-D and Radioddity GD-88 are free of charge. Using a CPS or a
firmware not originating from Radioddity may void your warranty.
Thank You for Shopping at Radioddity!
FIND TUTORIALS, SUPPORT AND MORE AT:
https://www.radioddity.com/
https://www.facebook.com/radioddity
https://www.youtube.com/c/Radioddityradio
